Chat Personas
With NLUX, you can optionally define a assistant persona and a user persona that will appear in the chat.
Using personas enhances natural conversation with your intelligent assistant.
It allows you to give your assistant an identity that persists during the interaction.
This includes details like a name, an avatar, and a custom tagline.
Similarly you can also represent the user profile with a name and an avatar.
- React JS ⚛️
- JavaScript 🟨
Assistant Persona
When defined, the assistant persona will appear in 2 places:
- In the initial chat screen, before the user has sent any message.
- In the conversation, in front of each message received from the AI assistant.
When defining the assistant persona, you can specify the following properties:
- The name of the assistant.
- The avatar of the assistant.
- A tagline that will appear below the assistant's name.
| In initial screen | In conversation |
|---|---|
 |  |
How To Define The Assistant Persona
- react-js
- javascript
In React JS, you can define the assistant persona by passing the personaOptions prop to the AiChat component.
The personaOptions prop is an object with two properties: assistant and user. The assistant property is what you use to
define the assistant persona, as shown in the example below.
<AiChat
    adapter={adapter}
    personaOptions={{
        assistant: {
            name: 'HarryBotter',
            avatar: 'https://docs.nlkit.com/nlux/images/personas/harry-botter.png',
            tagline: 'Mischievously Making Magic With Mirthful AI!',
        },
    }}
/>
The object passed to the assistant property should match the following interface:
interface AssistantPersona {
    name: string;
    avatar: string | JSX.Element;
    tagline?: string;
}
In JavaScript, you can define the assistant persona by calling withPersonaOptions when creating the AiChat component.
The withPersonaOptions function takes an object with two properties: assistant and user. The assistant property is
what you use to define the assistant persona, as shown in the example below.
const aiChat = createAiChat()
    .withAdapter(adapter)
    .withPersonaOptions({
        assistant: {
            name: 'HarryBotter',
            avatar: 'https://docs.nlkit.com/nlux/images/personas/harry-botter.png',
            tagline: 'Mischievously Making Magic With Mirthful AI!'
        }
    });
The object passed to the assistant property should match the following interface:
interface AssistantPersona {
    name: string;
    avatar: string | HTMLElement;
    tagline?: string;
}
When a string is passed to the avatar property, it is assumed to be a URL to an image. You can also pass a JSX
element to the avatar property, which is useful if you want to use an SVG image or a custom component.
If an invalid URL is passed to the avatar property, the first letter of the assistant's name will be used as the avatar
image, as shown in the example below.
| Initial screen with invalid avatar URL | Conversation with invalid avatar URL |
|---|---|
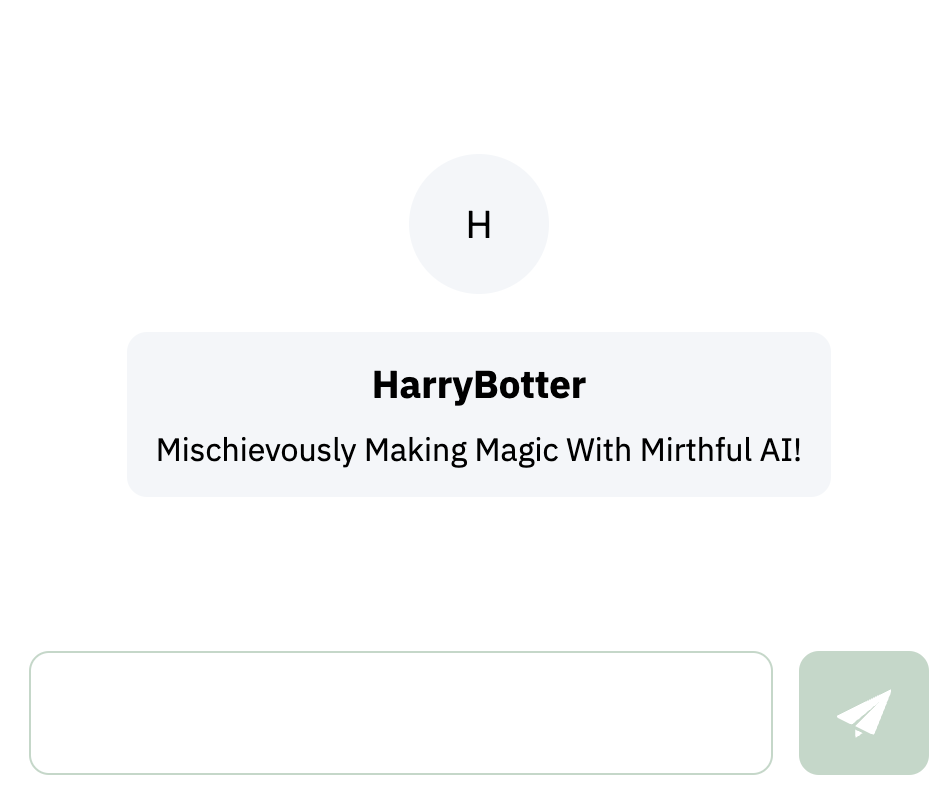 |  |
User Persona
When defined, the user persona will appear in that conversation UI, in front of the user sent.
When defining the user persona, you can specify the following properties:
- The name of the user.
- The avatar of the user.
| User persona in conversation |
|---|
|
How To Define The User Persona
- react-js
- javascript
In React JS, you can define the user persona by passing the personaOptions prop to the AiChat component.
The personaOptions prop is an object with two properties: assistant and user. The user property is what you use to
define the user persona, as shown in the example below.
<AiChat
    adapter={adapter}
    personaOptions={{
        user: {
            name: 'Alex',
            avatar: 'https://docs.nlkit.com/nlux/images/personas/alex.png'
        },
    }}
/>
The object passed to the user property should match the following interface:
interface UserPersona {
    name: string;
    avatar: string | JSX.Element;
}
In JavaScript, you can define the user persona by calling withPersonaOptions when creating the AiChat component.
The withPersonaOptions function takes an object with two properties: assistant and user. The user property is
what you use to define the user persona, as shown in the example below.
const aiChat = createAiChat()
    .withAdapter(adapter)
    .withPersonaOptions({
        user: {
            name: 'Alex',
            avatar: 'https://docs.nlkit.com/nlux/images/personas/alex.png'
        }
    });
The object passed to the user property should match the following interface:
interface UserPersona {
    name: string;
    avatar: string | HTMLElement;
}
JSX/DOM and Reactivity
- react-js
- javascript
JSX and Reactivity React
JSX and Reactivity JavaScript